Consider yourself a shopper looking for a chocolate gift box. Finding what you’re looking for on one of the websites you see rapidly gets annoying because it seems to take an eternity for each page to load. What do you then? You depart and visit another shop.
This is the ideal illustration of the significance of eCommerce site speed. Customers will buy elsewhere if they can’t quickly (within two seconds, to be precise) navigate your business and find what they’re looking for. This implies that you lose clients who would have bought your goods. Who wants that, though?
Let’s examine your site’s loading speed and practical suggestions for enhancing the speed of your online store.
Measuring site speed
Start by understanding how your site performs right now. There are a variety of tools that help you do this, including:
- GTMetrix. This provides a performance score, breaks down metrics like “fully loaded time,” and offers detailed recommendations for speed improvements.
- Pingdom Website Speed Test. This features a simpler, more direct interface, along with important metrics like load time and page size. You can also select a location from which to test.
- PageSpeed Insights. This shows scores directly from Google, split between mobile and desktop.
For the most accurate results, test using multiple tools. This gives you a good idea of how quickly your site loads and allows you to see how your optimization improves load time.
Tips for a fast eCommerce store
1. Start with a high-quality host
Your host provides the speed foundation for your entire website, so it’s important to choose one that focuses on performance. Look for features like:
- Server-side caching
- Enough resources for your site needs, like bandwidth and RAM
- High-performance SSD drives
- Updated software, like PHP and MYSQL
In many cases, if you’re on a shared hosting plan, thousands of websites are piled on the same server, using the same resources. Choose a hosting provider that limits the number of sites on each server, or consider upgrading to a VPS or dedicated plan so that you have your own server space.
2. Choose a fast, reliable theme
The more complex a theme, the more code it installs on your site, and the slower your site loads. This is especially true if you use a theme that includes plugins or page builders.
Now, that’s not to say that you shouldn’t use a “heavy” theme — you may need the additional functionality or design tools — but it’s important to weigh the pros and cons. Many themes also allow you to turn off features you’re not using, which is a great way to balance your site needs with speed concerns.
How do you know if a theme is fast? Try running its demo pages through the speed tools we mentioned earlier, or read through customer reviews to see what real users have to say.

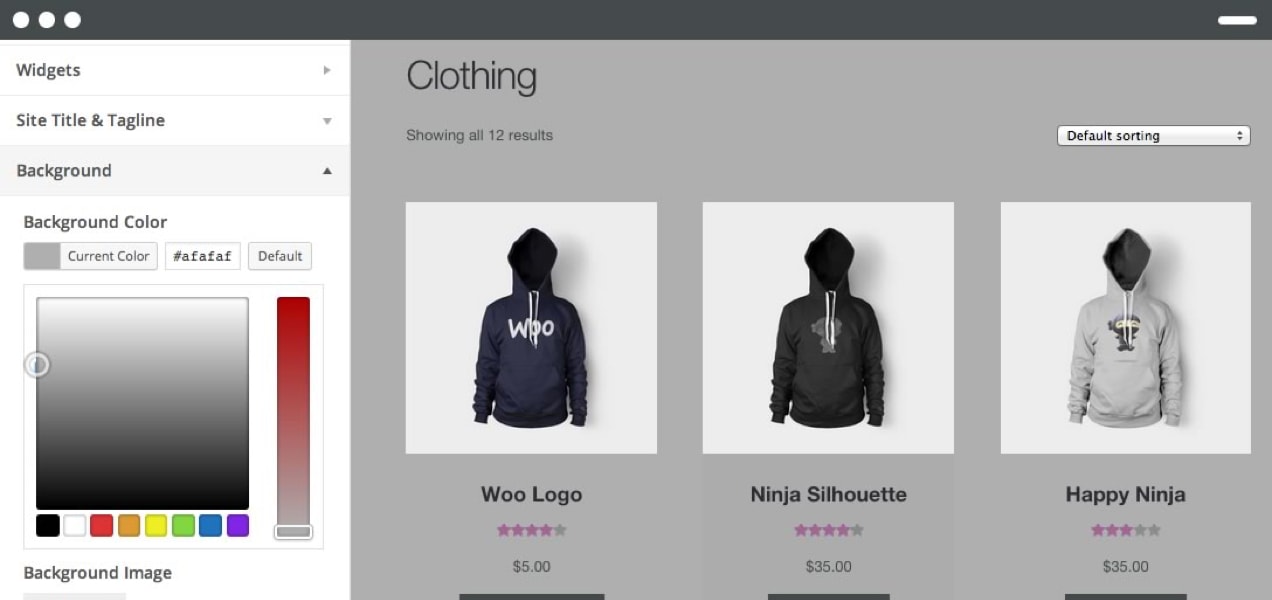
The Storefront theme is an excellent starting point. It’s simple and fast, but intuitive and flexible at the same time.
3. Limit the plugins you use
Plugins are one of the biggest benefits of WordPress because they allow for endless flexibility. However, this doesn’t mean that you should install all of them.
Plugins can impact speed by:
- Sending additional HTTP requests. Many plugins add extra Javascript or CSS files to your site, increasing the number of HTTP requests sent to your server and thus slowing down your store.
- Adding database queries. A lot of plugins pull information from your database to display elements on the front-end, which increases the load on your server.
- Taking up hosting resources. The more plugins you have, the more server resources you use. And, if you go over your hosting plan’s allocated resources, your load time will suffer.

But it’s not just about the number of plugins you install — there’s not a right or wrong number — it’s also about the quality. Choose plugins that serve multiple functions, check reviews for information about speed, make sure that they’re regularly updated, and install options from reliable sources.
And if you want an idea of how a specific plugin impacts your site, try downloading the P3 Plugin Performance Profiler.
4. Keep WordPress, themes, and plugins updated
WordPress core, theme, and plugin updates often include more than just cool new features or security patches. In many cases, they’ll actually improve your site speed with optimized code.
Make sure that you perform updates every time they’re available. Or, if you don’t want to check frequently, you can turn on auto-updates in your WordPress settings.
5. Compress your images
Images are some of the heaviest, most difficult files for your server to handle, so you want to make them as small as possible. However, it’s also important to balance image quality with size. After all, you don’t want blurry product pictures! Here are some good steps to take:
- Choose the right format. Unless your image has a transparent background, it’s usually best to upload JPEG files, which are smaller.
- Only use the size you need. If the space you’re filling is only 500 pixels wide, don’t upload a 2000-pixel-wide image.
- Run the image through a compressor. Image compressors strip your pictures of unnecessary data and information, thus reducing their file size. Plugins like EWWW Image Optimizer and Smush take care of this for you automatically. Or, if you use a Mac, you might consider running your images through ImageOptim prior to upload.
6. Consider lazy loading images
If you have longer pages or a lot of images on your site, you may want to consider enabling image lazy loading. This functionality automatically delays the loading of images until a site visitor scrolls down to where they appear on the page. This means that your customers won’t have to sit around and wait for all of your media to load before they can consume your content (or purchase your products!)
There are a variety of tools available, including Jetpack’s free lazy loading feature that can be enabled with just one click.
7. Install a caching plugin
Every time someone visits your store, their browser has to load all of your site data: images, videos, Javascript, CSS, etc. Depending on the size of your site, this can take a while! But when you enable caching, their browser saves a copy of your site files, so that when they return, it will load much more quickly.
Some hosting providers offer this on a server level, but you can also use a plugin like WP Super Cache.
8. Set up a CDN
A content delivery network (CDN) is a network of distributed servers around the world. It downloads images, videos, and other assets from your site and serves them through its own network, taking the strain off of your server.
While this is a great solution for any store, it’s especially useful if you sell internationally. For example, if your server is located in New York and someone visits from India, your site would typically load from that New York server. But a CDN loads your site from the server that’s closest to each individual customer. This means that every single visitor gets the most optimal speed experience.

CDNs can be difficult to set up, especially if you’re not familiar with them. But Jetpack offers an excellent option for images, videos, Javascript, and CSS files that you can turn on with a single click.
9. Prevent brute force attacks
Brute force attacks occur when hackers use bots to try to access your site. They can try thousands of username and password combinations per minute!
But wait — this sounds like a security issue, not a speed issue.
Yes, it definitely impacts security, but when that many login attempts happen per minute, it can put a huge strain on your server and slow things down dramatically. Thankfully, preventing brute force attacks is easy. All you have to do is enable Jetpack’s free brute force attack protection feature.
10. Update your PHP version and increase your memory limit
You want to upgrade the version of PHP you’re using (the programming language WordPress is written in) for the same reason you want to update themes and plugins. Each update is faster than the last and can increase your site performance.
Your host determines the version of PHP that you use, and you can normally change it in your hosting control panel, though the exact steps depend on your provider. Or, simply reach out to customer support and ask them to do this for you.
Now, what about your memory limit?
Your website has a certain amount of memory allocated to it by your hosting provider. But, depending on your specific site, you may exceed that limit (e.g. WooCommerce recommends a minimum of 128 MB).


